In the previous tutorials, we created databases and ViewModels manually. We wrote DatabaseProvider singletons. We passed dependencies by hand. It worked — but it doesn’t scale.
When your app has 10 ViewModels, 5 repositories, 3 data sources, and a database — wiring everything manually becomes a nightmare. One missing connection and your app crashes.
Hilt fixes this. You add annotations to your classes, and Hilt connects everything automatically.
What is Dependency Injection?
Dependency injection (DI) means: instead of a class creating its own dependencies, someone else provides them.
Without DI (Manual Wiring)
// ViewModel creates its own database connection
class NotesViewModel(application: Application) : AndroidViewModel(application) {
    // ViewModel knows HOW to create the database
    private val dao = DatabaseProvider.getDatabase(application).noteDao()
}
The ViewModel knows how to create the database. If you change the database setup, you change every ViewModel that uses it.
With DI (Hilt)
// Hilt provides the DAO — ViewModel just declares what it needs
@HiltViewModel
class NotesViewModel @Inject constructor(
    private val dao: NoteDao  // Hilt provides this automatically
) : ViewModel()
The ViewModel says “I need a NoteDao” and Hilt provides one. The ViewModel doesn’t know or care how the database is created.
Why this matters: When you have 10 ViewModels that need a database, you define the database setup ONCE in a Hilt module. Change it once, all 10 ViewModels get the updated version.
What is Hilt?
Hilt is Google’s recommended DI framework for Android. It is built on top of Dagger (a powerful but complex DI library) and makes it much simpler with annotations.
The key annotations:
| Annotation | Where | What It Does |
|---|---|---|
@HiltAndroidApp | Application class | Enables Hilt for the whole app |
@AndroidEntryPoint | Activity/Fragment | Enables injection in this screen |
@HiltViewModel | ViewModel | Enables injection in this ViewModel |
@Inject | Constructor | Tells Hilt “provide these parameters” |
@Module | A class | Defines how to create dependencies |
@InstallIn | A module | Defines the scope (app-wide, activity, etc.) |
@Provides | A function in a module | Tells Hilt how to create something |
@Singleton | A provider | Create only one instance for the entire app |
Setup
Add Hilt dependencies to your project:
// gradle/libs.versions.toml
[versions]
hilt = "2.56.2"
ksp = "2.1.21-2.0.5"

[libraries]
hilt-android = { group = "com.google.dagger", name = "hilt-android", version.ref = "hilt" }
hilt-compiler = { group = "com.google.dagger", name = "hilt-compiler", version.ref = "hilt" }
hilt-navigation-compose = { group = "androidx.hilt", name = "hilt-navigation-compose", version = "1.2.0" }

[plugins]
hilt = { id = "com.google.dagger.hilt.android", version.ref = "hilt" }
ksp = { id = "com.google.devtools.ksp", version.ref = "ksp" }
// app/build.gradle.kts
plugins {
    alias(libs.plugins.hilt)
    alias(libs.plugins.ksp)
}

dependencies {
    implementation(libs.hilt.android)
    implementation(libs.hilt.navigation.compose)
    ksp(libs.hilt.compiler)
}
Step 1: Application Class
Create an App.kt with @HiltAndroidApp:
// App.kt — the entry point for Hilt
// This annotation generates the DI container for your entire app

@HiltAndroidApp
class App : Application()
Register it in AndroidManifest.xml:
<application
    android:name=".App"
    ...>
That’s it. This one annotation sets up Hilt for your entire app.
Step 2: Activity
Add @AndroidEntryPoint to your Activity:
@AndroidEntryPoint
class MainActivity : ComponentActivity() {
    override fun onCreate(savedInstanceState: Bundle?) {
        super.onCreate(savedInstanceState)
        setContent {
            MyAppTheme {
                NotesScreen()
            }
        }
    }
}
This tells Hilt: “this Activity can receive injected dependencies.”
Step 3: Define a Module
A module tells Hilt HOW to create things. Here we teach it how to create the Room database and DAO:
// di/AppModule.kt — teaches Hilt how to create dependencies

@Module
@InstallIn(SingletonComponent::class)  // Lives as long as the app
object AppModule {

    @Provides
    @Singleton  // Only one database instance for the entire app
    fun provideDatabase(@ApplicationContext context: Context): AppDatabase {
        return Room.databaseBuilder(
            context,
            AppDatabase::class.java,
            "notes_database"
        ).build()
    }

    @Provides
    fun provideNoteDao(database: AppDatabase): NoteDao {
        return database.noteDao()
    }
}
Notice: no more DatabaseProvider singleton. Hilt replaces it. The @Singleton annotation ensures only one database instance exists.
How Hilt Reads This
When a ViewModel asks for a NoteDao, Hilt thinks:
- “I need a
NoteDao. Let me check my modules…” - “Found
provideNoteDao()— it needs anAppDatabase” - “I need an
AppDatabase. Let me check again…” - “Found
provideDatabase()— it needs aContext” - “I have
@ApplicationContext— here’s the context” - “Done. Here’s your
NoteDao.”
All automatic. You define the recipes in the module, Hilt follows them.
Step 4: ViewModel with @HiltViewModel
@HiltViewModel
class NotesViewModel @Inject constructor(
    private val dao: NoteDao  // Hilt injects this
) : ViewModel() {

    private val _state = MutableStateFlow(NotesState())
    val state: StateFlow<NotesState> = _state.asStateFlow()

    init {
        observeNotes("")
    }

    fun addNote(title: String, content: String) {
        viewModelScope.launch {
            dao.insert(Note(title = title, content = content))
        }
    }

    fun deleteNote(note: Note) {
        viewModelScope.launch {
            dao.delete(note)
        }
    }

    // ... rest of the ViewModel logic
}
Compare this to the Tutorial #13 version:
// Before Hilt — manual wiring
class NotesViewModel(application: Application) : AndroidViewModel(application) {
    private val dao = DatabaseProvider.getDatabase(application).noteDao()
}

// After Hilt — automatic injection
@HiltViewModel
class NotesViewModel @Inject constructor(
    private val dao: NoteDao
) : ViewModel()  // No AndroidViewModel needed!
Cleaner. No Application parameter. No manual database creation. Just declare what you need.
Step 5: Use in Compose
In Compose, use hiltViewModel() instead of viewModel():
@Composable
fun NotesScreen(
    viewModel: NotesViewModel = hiltViewModel()  // Hilt provides it
) {
    val state by viewModel.state.collectAsStateWithLifecycle()
    // ... your UI code
}
hiltViewModel() comes from the hilt-navigation-compose library. It creates the ViewModel with all dependencies injected.
Before and After: The Full Picture
Before Hilt (Tutorial #13)
DatabaseProvider (singleton — you wrote this)
    ↓
AppDatabase (you create manually)
    ↓
NoteDao (you extract manually)
    ↓
NotesViewModel(application) (needs Application to get database)
    ↓
NotesScreen(viewModel = viewModel()) (uses AndroidViewModel factory)
After Hilt (Tutorial #14)
@Module AppModule (tells Hilt how to create Database + DAO)
    ↓
@HiltViewModel NotesViewModel @Inject (Hilt provides NoteDao)
    ↓
NotesScreen(viewModel = hiltViewModel()) (Hilt handles everything)
What you removed:
DatabaseProvidersingleton — goneAndroidViewModel— replaced with regularViewModel- Manual database creation — Hilt handles it
Applicationparameter — not needed
Adding Retrofit to the Same Module
Hilt shines when you have multiple dependencies. Add Retrofit alongside Room:
@Module
@InstallIn(SingletonComponent::class)
object AppModule {

    // --- Room ---

    @Provides
    @Singleton
    fun provideDatabase(@ApplicationContext context: Context): AppDatabase {
        return Room.databaseBuilder(context, AppDatabase::class.java, "app_db").build()
    }

    @Provides
    fun provideNoteDao(database: AppDatabase): NoteDao = database.noteDao()

    // --- Retrofit ---

    @Provides
    @Singleton
    fun provideRetrofit(): Retrofit {
        return Retrofit.Builder()
            .baseUrl("https://api.example.com/")
            .addConverterFactory(Json.asConverterFactory("application/json".toMediaType()))
            .build()
    }

    @Provides
    fun provideUserApi(retrofit: Retrofit): UserApi = retrofit.create(UserApi::class.java)
}
Now any ViewModel can request both:
@HiltViewModel
class HomeViewModel @Inject constructor(
    private val noteDao: NoteDao,    // From Room
    private val userApi: UserApi     // From Retrofit
) : ViewModel()
One module. Multiple dependencies. Zero manual wiring.
Common Mistakes
Mistake 1: Forgetting @AndroidEntryPoint
// BAD — crashes at runtime
class MainActivity : ComponentActivity() { ... }

// GOOD — Hilt can inject into this Activity
@AndroidEntryPoint
class MainActivity : ComponentActivity() { ... }
Mistake 2: Forgetting @HiltAndroidApp
// BAD — Hilt doesn't initialize, everything crashes
class App : Application()

// GOOD — enables Hilt for the entire app
@HiltAndroidApp
class App : Application()
Mistake 3: Using viewModel() Instead of hiltViewModel()
// BAD — ViewModel doesn't get injected dependencies
val viewModel: NotesViewModel = viewModel()

// GOOD — Hilt injects all dependencies
val viewModel: NotesViewModel = hiltViewModel()
Mistake 4: Not Using @Singleton for Databases
// BAD — creates a new database on every injection
@Provides
fun provideDatabase(@ApplicationContext context: Context): AppDatabase { ... }

// GOOD — one database for the entire app
@Provides
@Singleton
fun provideDatabase(@ApplicationContext context: Context): AppDatabase { ... }
Quick Reference
| Annotation | Where to Use | Purpose |
|---|---|---|
@HiltAndroidApp | Application class | Enable Hilt |
@AndroidEntryPoint | Activity | Enable injection |
@HiltViewModel | ViewModel | Enable ViewModel injection |
@Inject constructor() | ViewModel/class | Request dependencies |
@Module | Object | Define dependency recipes |
@InstallIn(SingletonComponent) | Module | App-wide scope |
@Provides | Function in module | How to create a dependency |
@Singleton | Provider function | Only create one instance |
hiltViewModel() | Composable | Get ViewModel with Hilt |
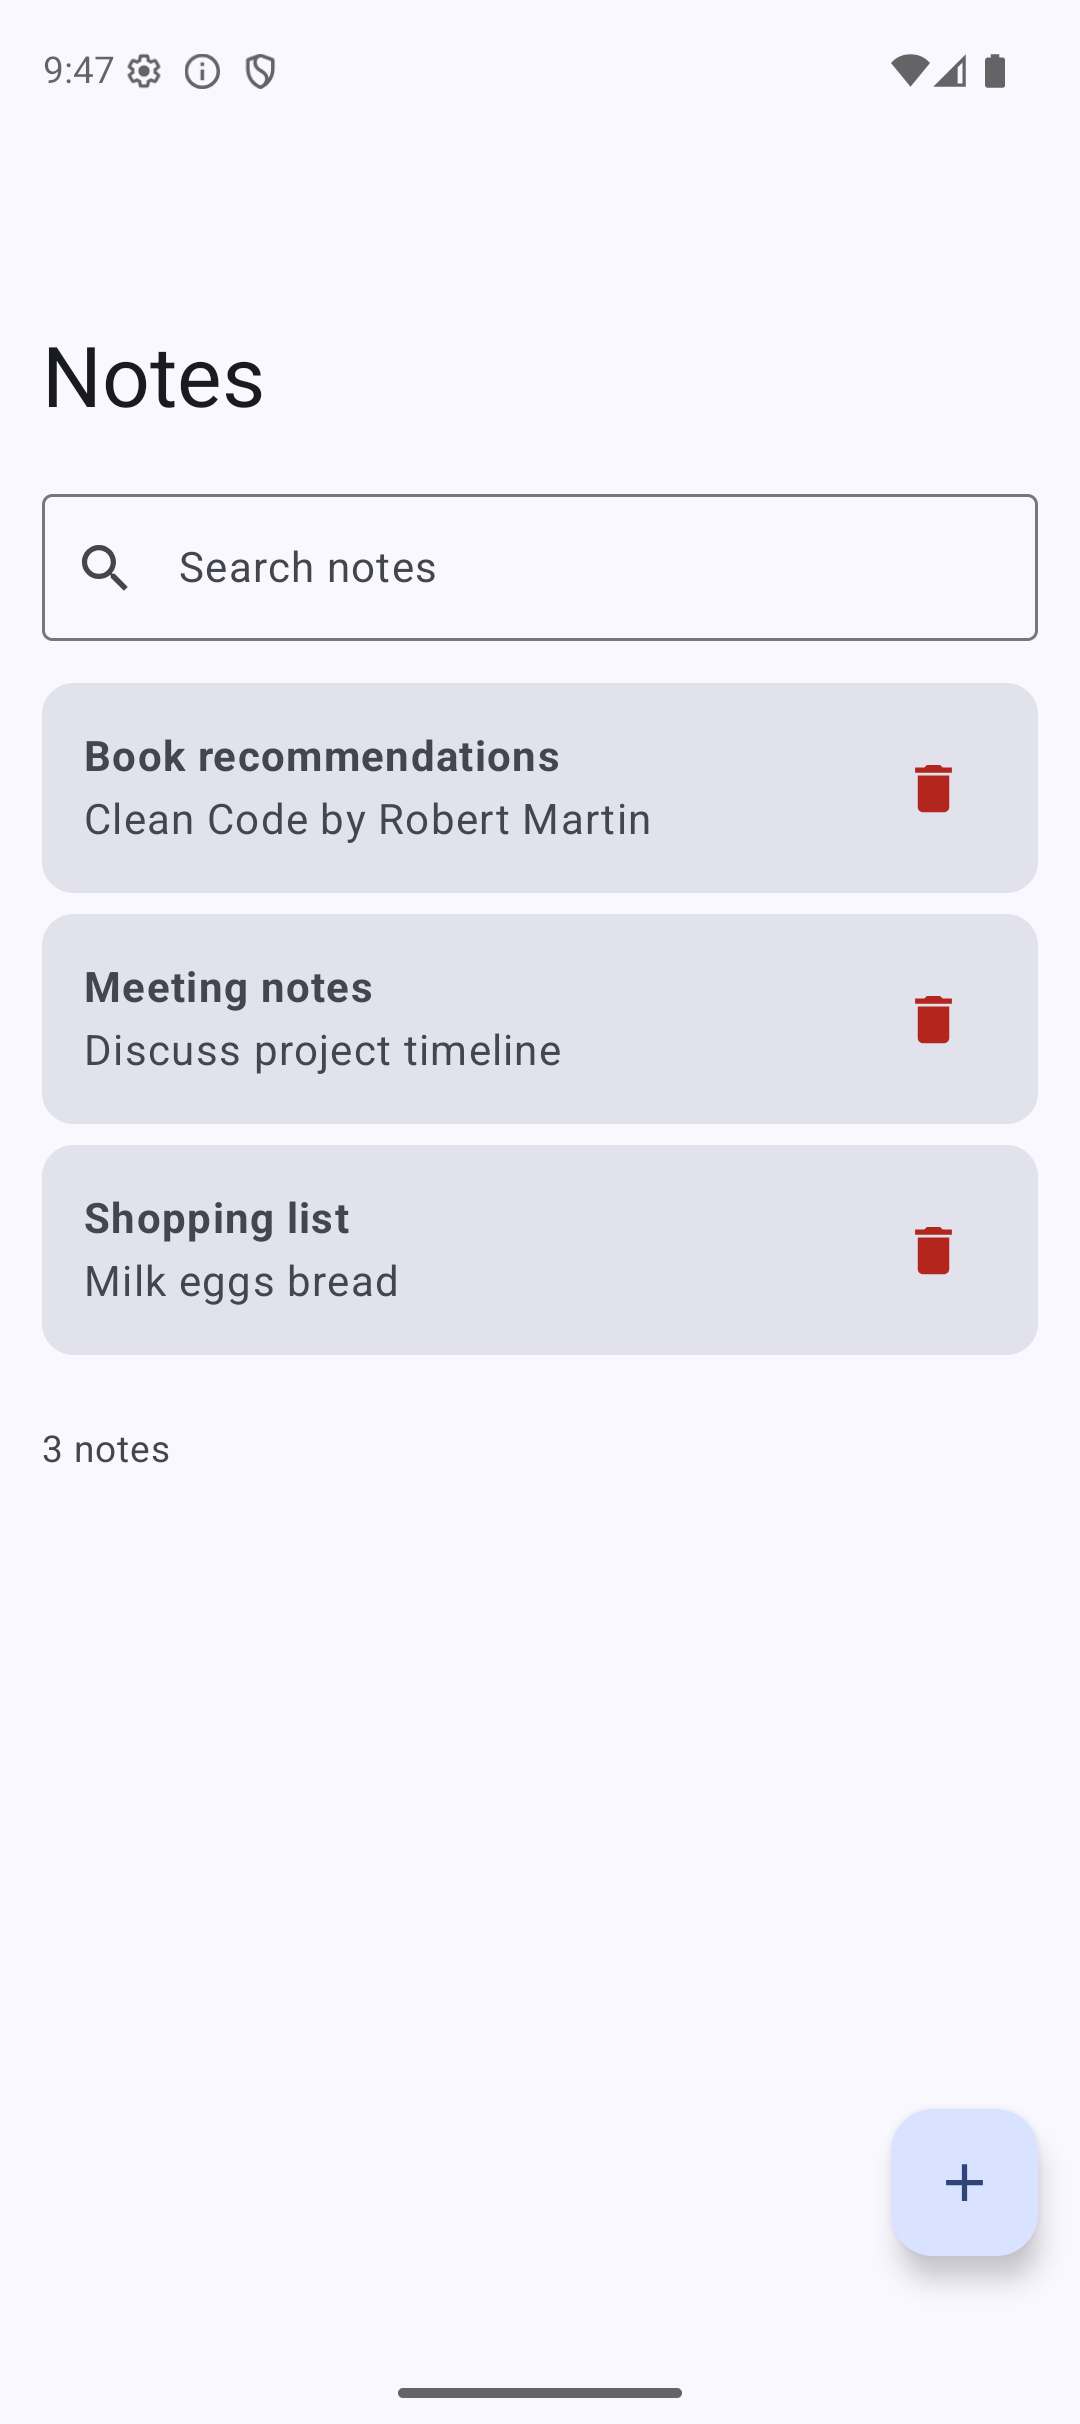
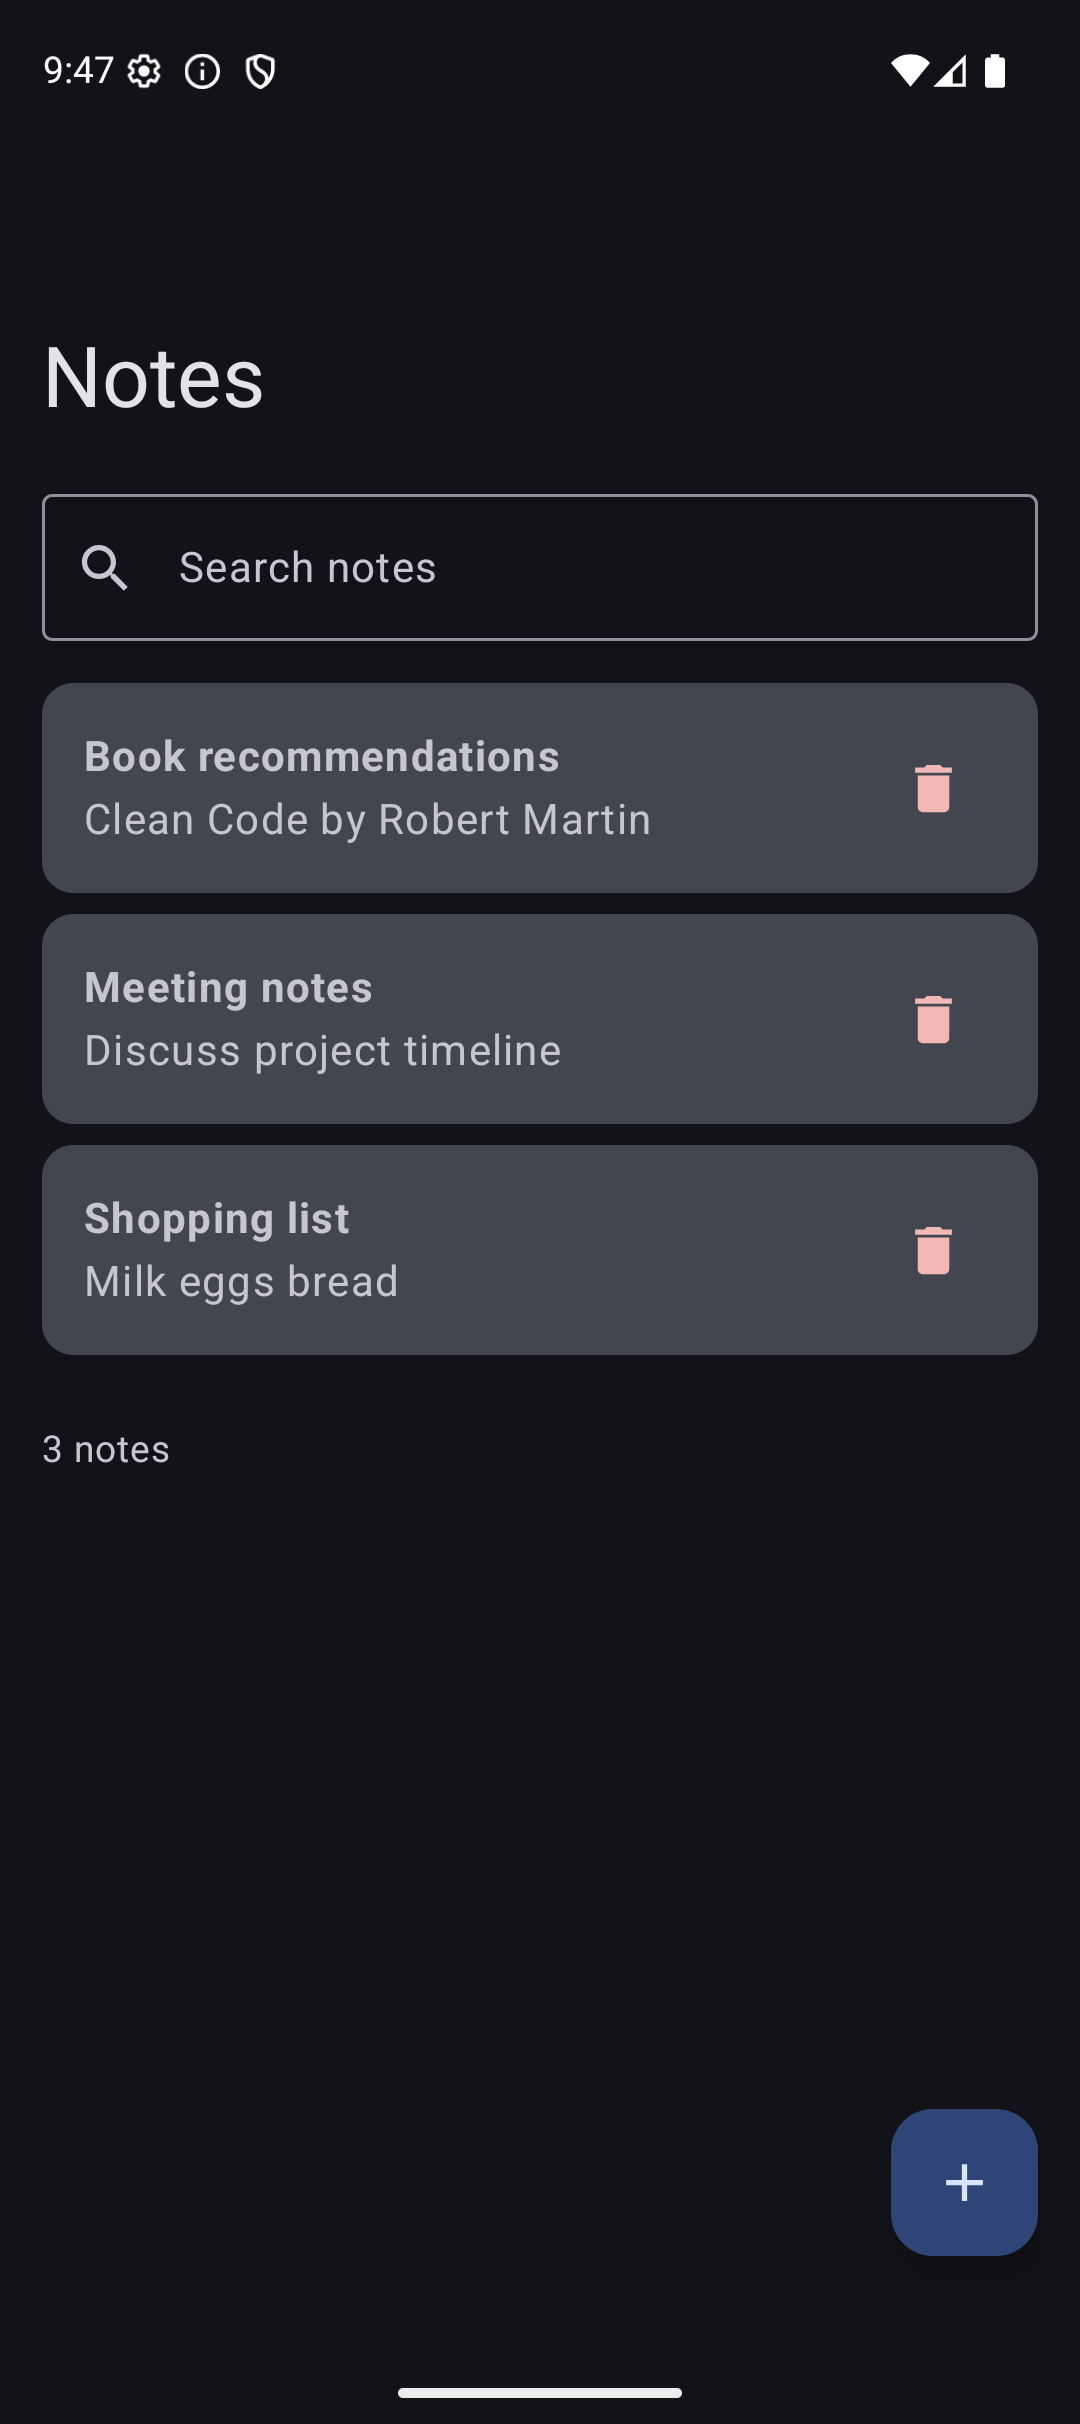
Result
Here is what the app looks like when you run the code from this tutorial:
| Light Mode | Dark Mode |
|---|---|
 |  |
Source Code
The complete working code for this tutorial is on GitHub:
Related Tutorials
- Tutorial #13: Room Database — manual wiring that Hilt replaces
- Tutorial #9: ViewModel — ViewModel basics
- Tutorial #12: Retrofit — add Retrofit to your Hilt module
- Jetpack Compose Cheat Sheet — quick reference for every component and modifier.
- Full Series: Jetpack Compose Tutorial — all 25 tutorials from zero to publishing.
What’s Next?
With Hilt, Room, Retrofit, ViewModel, and Navigation — you now have all the tools for a production-quality Android app. In the next tutorial, we will learn about Animations — making your UI feel smooth and polished.
See you there.