Welcome to Part 2 of the series. You can now build beautiful single-screen apps. But real apps have many screens — a home screen, a detail screen, a settings screen, a profile screen.
Navigation is how you move between them.
In this tutorial, you will learn everything about Compose navigation:
- Setting up navigation
- Creating screens and routes
- Type-safe navigation with Kotlin Serialization
- Passing data between screens
- Bottom navigation bar
- Nested navigation graphs
- Back stack management
- Best practices
This is a long tutorial. Take your time.
Setup
Add the navigation dependency to your build.gradle.kts:
dependencies {
    implementation("androidx.navigation:navigation-compose:2.9.7")
    implementation("org.jetbrains.kotlinx:kotlinx-serialization-json:1.7.3")
}
Add the serialization plugin to your project-level build.gradle.kts:
plugins {
    kotlin("plugin.serialization") version "2.2.10"
}
And in your app-level build.gradle.kts:
plugins {
    alias(libs.plugins.kotlin.compose)
    kotlin("plugin.serialization")
}
The Big Picture
Navigation in Compose has three parts:
| Part | What It Is | What It Does |
|---|---|---|
| NavController | The navigator | Keeps track of which screen you are on, handles back button |
| NavHost | The container | Shows the current screen, defines all possible screens |
| Routes | The addresses | Each screen has a unique route (like a URL) |
The flow:
User taps "Go to Profile"
       ↓
NavController.navigate(Profile(id = "123"))
       ↓
NavHost finds the route for Profile
       ↓
NavHost shows the ProfileScreen composable
       ↓
Previous screen is saved on the back stack
Your First Navigation: Two Screens
Let’s start simple — a home screen with a button that navigates to a detail screen.
Step 1: Define Routes
Routes are the “addresses” of your screens. We use @Serializable objects and data classes:
import kotlinx.serialization.Serializable

// Simple screen with no arguments — use object
@Serializable
object Home

// Screen that needs data — use data class
@Serializable
data class Detail(val itemId: String)
Why @Serializable? This is the type-safe way to define routes. The old way used strings like "home" and "detail/{itemId}" — which crashed at runtime if you made a typo. With @Serializable, the compiler catches mistakes before you run the app.
Step 2: Create the NavHost
@Composable
fun AppNavigation() {
    // Create the NavController — it remembers where you are
    val navController = rememberNavController()

    // NavHost shows the current screen
    NavHost(
        navController = navController,
        startDestination = Home // First screen to show
    ) {
        // Home screen route
        composable<Home> {
            HomeScreen(
                onItemClick = { itemId ->
                    navController.navigate(Detail(itemId = itemId))
                }
            )
        }

        // Detail screen route
        composable<Detail> { backStackEntry ->
            // Extract the arguments from the route
            val detail = backStackEntry.toRoute<Detail>()

            DetailScreen(
                itemId = detail.itemId,
                onBack = { navController.popBackStack() }
            )
        }
    }
}
Step 3: Create the Screens
@Composable
fun HomeScreen(onItemClick: (String) -> Unit) {
    Column(
        modifier = Modifier
            .fillMaxSize()
            .padding(16.dp)
    ) {
        Text("Home", style = MaterialTheme.typography.headlineLarge)

        Spacer(modifier = Modifier.height(16.dp))

        // List of items — clicking navigates to detail
        val items = listOf("Item A", "Item B", "Item C")
        items.forEach { item ->
            Button(
                onClick = { onItemClick(item) },
                modifier = Modifier
                    .fillMaxWidth()
                    .padding(vertical = 4.dp)
            ) {
                Text("Go to $item")
            }
        }
    }
}

@Composable
fun DetailScreen(itemId: String, onBack: () -> Unit) {
    Column(
        modifier = Modifier
            .fillMaxSize()
            .padding(16.dp)
    ) {
        // Back button
        TextButton(onClick = onBack) {
            Text("← Back")
        }

        Spacer(modifier = Modifier.height(16.dp))

        Text("Detail: $itemId", style = MaterialTheme.typography.headlineLarge)
        Text(
            "You are viewing the detail page for $itemId",
            style = MaterialTheme.typography.bodyLarge
        )
    }
}
Step 4: Use It in MainActivity
class MainActivity : ComponentActivity() {
    override fun onCreate(savedInstanceState: Bundle?) {
        super.onCreate(savedInstanceState)
        setContent {
            MyAppTheme {
                AppNavigation()
            }
        }
    }
}
That’s it. You now have two screens with navigation between them.
Important pattern: Notice that the screens don’t know about navController. They receive callback functions (onItemClick, onBack). This is a best practice — it makes screens reusable and testable.
Passing Arguments Between Screens
Simple Arguments
Define what data the screen needs in the route:
@Serializable
data class Profile(val userId: String)

@Serializable
data class Product(val productId: Int, val category: String)
Navigate with arguments:
// Navigate to a profile
navController.navigate(Profile(userId = "kemalcodes"))

// Navigate to a product
navController.navigate(Product(productId = 42, category = "electronics"))
Read arguments in the destination:
composable<Profile> { backStackEntry ->
    val profile = backStackEntry.toRoute<Profile>()
    ProfileScreen(userId = profile.userId)
}

composable<Product> { backStackEntry ->
    val product = backStackEntry.toRoute<Product>()
    ProductScreen(
        productId = product.productId,
        category = product.category
    )
}
Optional Arguments with Default Values
@Serializable
data class Search(
    val query: String = "",        // Optional — defaults to empty
    val category: String = "all"   // Optional — defaults to "all"
)

// Navigate with some arguments
navController.navigate(Search(query = "compose"))

// Navigate with all defaults
navController.navigate(Search())
What NOT to Pass
Never pass complex objects (like a full User object or a list). Pass only IDs and let the destination screen fetch the data:
// BAD — passing the whole object
@Serializable
data class UserDetail(val name: String, val email: String, val bio: String, ...)

// GOOD — pass only the ID, fetch the rest from the data layer
@Serializable
data class UserDetail(val userId: String)
Why? Because navigation arguments are saved in the back stack. Large objects waste memory and can cause crashes.
Bottom Navigation Bar
Most apps have a bottom bar with 3-5 tabs. Here is how to build one:
Step 1: Define the Tab Routes
@Serializable
object HomeTab

@Serializable
object SearchTab

@Serializable
object ProfileTab
Step 2: Define Tab Items
data class BottomNavItem(
    val label: String,
    val icon: ImageVector,
    val route: Any // The serializable route
)

val bottomNavItems = listOf(
    BottomNavItem("Home", Icons.Default.Home, HomeTab),
    BottomNavItem("Search", Icons.Default.Search, SearchTab),
    BottomNavItem("Profile", Icons.Default.Person, ProfileTab),
)
Step 3: Build the Scaffold with Bottom Bar
@Composable
fun MainScreen() {
    val navController = rememberNavController()

    // Track which tab is selected
    val currentBackStackEntry by navController.currentBackStackEntryAsState()

    Scaffold(
        bottomBar = {
            NavigationBar {
                bottomNavItems.forEach { item ->
                    NavigationBarItem(
                        selected = currentBackStackEntry?.destination?.hasRoute(
                            item.route::class
                        ) == true,
                        onClick = {
                            navController.navigate(item.route) {
                                // Avoid building up a huge back stack
                                popUpTo(navController.graph.startDestinationId) {
                                    saveState = true
                                }
                                // Don't create multiple copies of the same tab
                                launchSingleTop = true
                                // Restore state when re-selecting a tab
                                restoreState = true
                            }
                        },
                        icon = {
                            Icon(item.icon, contentDescription = item.label)
                        },
                        label = { Text(item.label) }
                    )
                }
            }
        }
    ) { innerPadding ->
        NavHost(
            navController = navController,
            startDestination = HomeTab,
            modifier = Modifier.padding(innerPadding)
        ) {
            composable<HomeTab> { HomeTabScreen() }
            composable<SearchTab> { SearchTabScreen() }
            composable<ProfileTab> { ProfileTabScreen() }
        }
    }
}
The three important flags in navigate:
popUpTo— removes screens from the back stack up to the start destination. Without this, pressing back on Tab 3 would go to Tab 2, then Tab 1, then exit. With it, pressing back exits directly.launchSingleTop— prevents creating duplicate screens when tapping the same tab twice.restoreState— remembers the scroll position and state when switching back to a tab.
Step 4: Tab Screens
@Composable
fun HomeTabScreen() {
    Column(
        modifier = Modifier
            .fillMaxSize()
            .padding(16.dp),
        verticalArrangement = Arrangement.Center,
        horizontalAlignment = Alignment.CenterHorizontally
    ) {
        Icon(Icons.Default.Home, contentDescription = "Home", modifier = Modifier.size(48.dp))
        Spacer(modifier = Modifier.height(8.dp))
        Text("Home", style = MaterialTheme.typography.headlineMedium)
    }
}

@Composable
fun SearchTabScreen() {
    Column(
        modifier = Modifier
            .fillMaxSize()
            .padding(16.dp),
        verticalArrangement = Arrangement.Center,
        horizontalAlignment = Alignment.CenterHorizontally
    ) {
        Icon(Icons.Default.Search, contentDescription = "Search", modifier = Modifier.size(48.dp))
        Spacer(modifier = Modifier.height(8.dp))
        Text("Search", style = MaterialTheme.typography.headlineMedium)
    }
}

@Composable
fun ProfileTabScreen() {
    Column(
        modifier = Modifier
            .fillMaxSize()
            .padding(16.dp),
        verticalArrangement = Arrangement.Center,
        horizontalAlignment = Alignment.CenterHorizontally
    ) {
        Icon(Icons.Default.Person, contentDescription = "Profile", modifier = Modifier.size(48.dp))
        Spacer(modifier = Modifier.height(8.dp))
        Text("Profile", style = MaterialTheme.typography.headlineMedium)
    }
}
Nested Navigation
In real apps, each bottom tab might have its own set of screens. For example, the Home tab might have a list screen and a detail screen. This is called nested navigation.
NavHost(
    navController = navController,
    startDestination = HomeTab
) {
    // Home tab has its own navigation flow
    navigation<HomeTab>(startDestination = HomeList) {
        composable<HomeList> {
            HomeListScreen(
                onItemClick = { id ->
                    navController.navigate(HomeDetail(id = id))
                }
            )
        }
        composable<HomeDetail> { backStackEntry ->
            val detail = backStackEntry.toRoute<HomeDetail>()
            HomeDetailScreen(
                id = detail.id,
                onBack = { navController.popBackStack() }
            )
        }
    }

    // Search tab — single screen
    composable<SearchTab> { SearchTabScreen() }

    // Profile tab — single screen
    composable<ProfileTab> { ProfileTabScreen() }
}
The routes for nested navigation:
@Serializable object HomeTab       // The tab route (parent)
@Serializable object HomeList      // First screen in Home tab
@Serializable data class HomeDetail(val id: String)  // Detail screen

@Serializable object SearchTab
@Serializable object ProfileTab
When the user navigates from HomeList → HomeDetail, they stay in the Home tab. The bottom bar stays visible. Pressing back goes from HomeDetail → HomeList, not to a different tab.
Back Stack Management
Going Back
// Go back one screen
navController.popBackStack()

// Go back to a specific screen
navController.popBackStack<HomeList>(inclusive = false)
// inclusive = false → keep HomeList on the stack
// inclusive = true → also remove HomeList
Navigate and Clear the Stack
Common pattern: after login, you want to go to Home and make sure the user can’t go back to the login screen.
// Assume you have: @Serializable object Login
navController.navigate(HomeTab) {
    popUpTo<Login> { inclusive = true }  // Remove Login from stack
}
After this, pressing back from Home exits the app instead of going back to Login.
Navigate with Single Top
Prevent duplicate screens:
navController.navigate(Profile(userId = "123")) {
    launchSingleTop = true
}
If Profile is already on top of the stack, this does nothing instead of creating a duplicate.
Deep Links
Deep links let users open a specific screen from outside the app (a notification, a web link, etc.):
@Serializable
data class Article(val articleId: String)

composable<Article>(
    deepLinks = listOf(
        navDeepLink<Article>(basePath = "https://kemalcodes.com/article")
    )
) { backStackEntry ->
    val article = backStackEntry.toRoute<Article>()
    ArticleScreen(articleId = article.articleId)
}
Now https://kemalcodes.com/article/compose-tutorial opens the ArticleScreen with articleId = "compose-tutorial".
Don’t forget to add the intent filter to AndroidManifest.xml:
<activity android:name=".MainActivity">
    <intent-filter>
        <action android:name="android.intent.action.VIEW" />
        <category android:name="android.intent.category.DEFAULT" />
        <category android:name="android.intent.category.BROWSABLE" />
        <data android:scheme="https" android:host="kemalcodes.com" />
    </intent-filter>
</activity>
Best Practices
1. Don’t Pass NavController to Screens
// BAD — screen depends on NavController
@Composable
fun ProfileScreen(navController: NavController) {
    Button(onClick = { navController.navigate(Settings) }) {
        Text("Settings")
    }
}

// GOOD — screen uses callbacks
@Composable
fun ProfileScreen(onSettingsClick: () -> Unit) {
    Button(onClick = onSettingsClick) {
        Text("Settings")
    }
}
Why? Because:
- Screens are easier to test (no need to create a NavController in tests)
- Screens are reusable (they don’t know about navigation structure)
- Navigation logic stays in one place (the NavHost)
2. Keep Routes in One File
// Routes.kt — all routes in one place
@Serializable object Home
@Serializable object Search
@Serializable data class Profile(val userId: String)
@Serializable data class Detail(val itemId: Int)
@Serializable object Settings
This makes it easy to see all screens in your app at a glance.
3. Pass IDs, Not Objects
// BAD — passing whole objects
navController.navigate(UserProfile(name = "Alex", email = "...", bio = "..."))

// GOOD — pass only the ID
navController.navigate(UserProfile(userId = "123"))
// The screen fetches the full user from the database/API
4. Handle Back Button Properly
The system back button works automatically with NavController. But sometimes you need custom behavior:
// In a screen that should confirm before leaving
BackHandler(enabled = hasUnsavedChanges) {
    showConfirmDialog = true
}
5. Use SavedStateHandle in ViewModels
When using ViewModels with navigation arguments:
class ProfileViewModel(savedStateHandle: SavedStateHandle) : ViewModel() {
    // Automatically reads the argument from the navigation route
    private val profile = savedStateHandle.toRoute<Profile>()
    val userId = profile.userId
}
Common Mistakes
Mistake 1: Creating NavController Inside a Composable
// BAD — creates a new NavController on every recomposition
@Composable
fun MyApp() {
    val navController = NavController(LocalContext.current)
}

// GOOD — remembers the NavController
@Composable
fun MyApp() {
    val navController = rememberNavController()
}
Mistake 2: Not Using popUpTo with Bottom Navigation
Without popUpTo, every tab tap adds to the back stack. After tapping Home → Search → Profile → Home → Search, pressing back goes through all of them. With popUpTo, it exits directly.
Mistake 3: Using String Routes Instead of Type-Safe Routes
// OLD way — typos cause runtime crashes
composable("profile/{userId}") { ... }
navController.navigate("profile/123")

// NEW way — compiler catches errors
composable<Profile> { ... }
navController.navigate(Profile(userId = "123"))
Always use @Serializable routes in 2026. String routes are deprecated.
Quick Reference
| Action | Code |
|---|---|
| Navigate forward | navController.navigate(Profile(userId = "123")) |
| Go back | navController.popBackStack() |
| Go back to specific screen | navController.popBackStack<Home>(inclusive = false) |
| Navigate and clear stack | navController.navigate(Home) { popUpTo<Login> { inclusive = true } } |
| Prevent duplicate | navController.navigate(Profile) { launchSingleTop = true } |
| Get current route | navController.currentBackStackEntryAsState() |
| Read arguments | backStackEntry.toRoute<Profile>() |
Result
Here is what the app looks like when you run the code from this tutorial:
| Light Mode | Dark Mode |
|---|---|
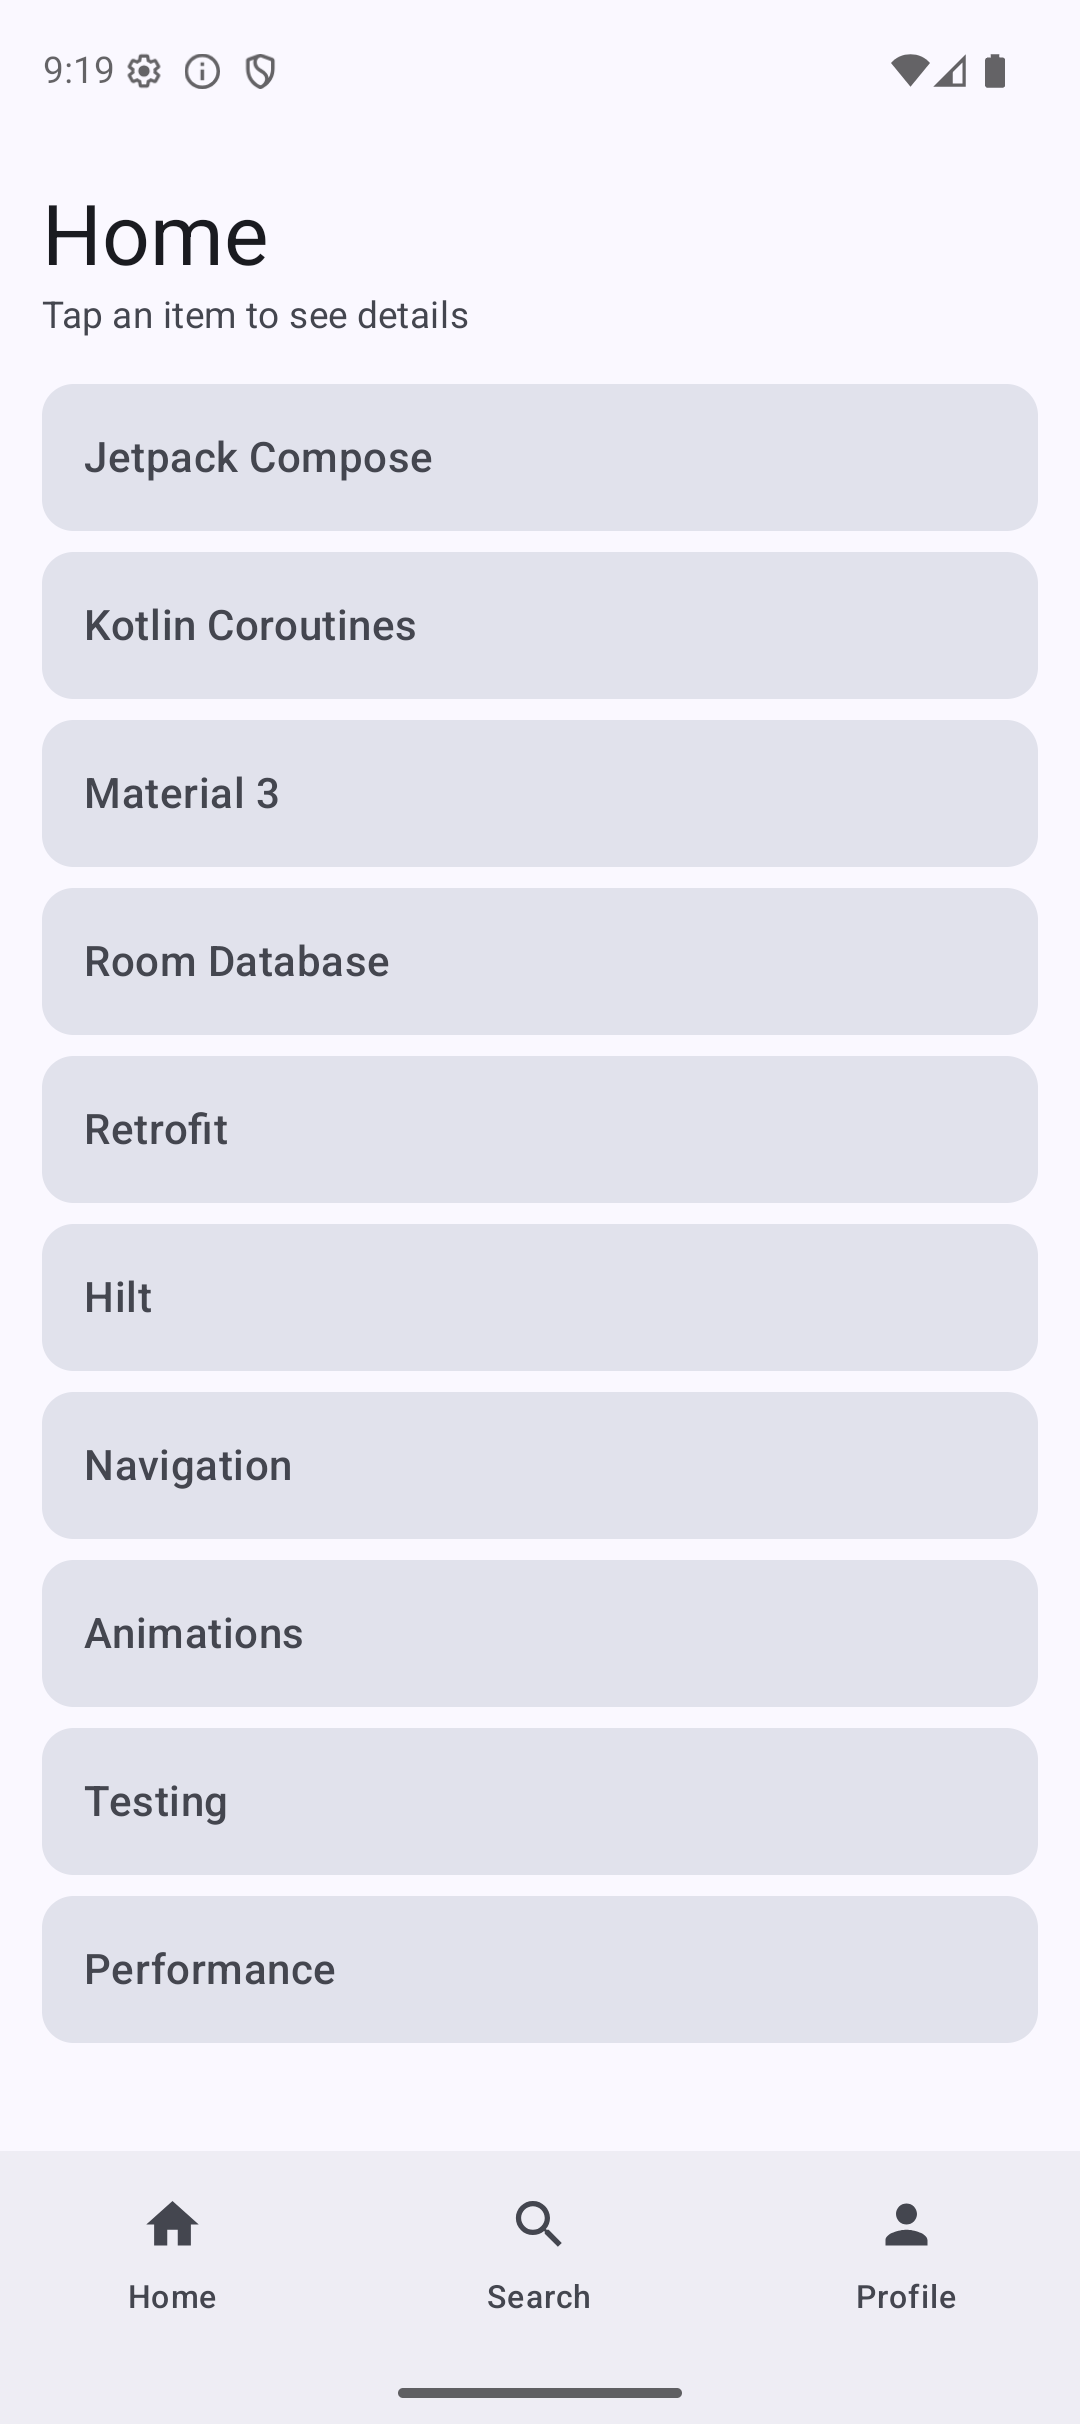 | 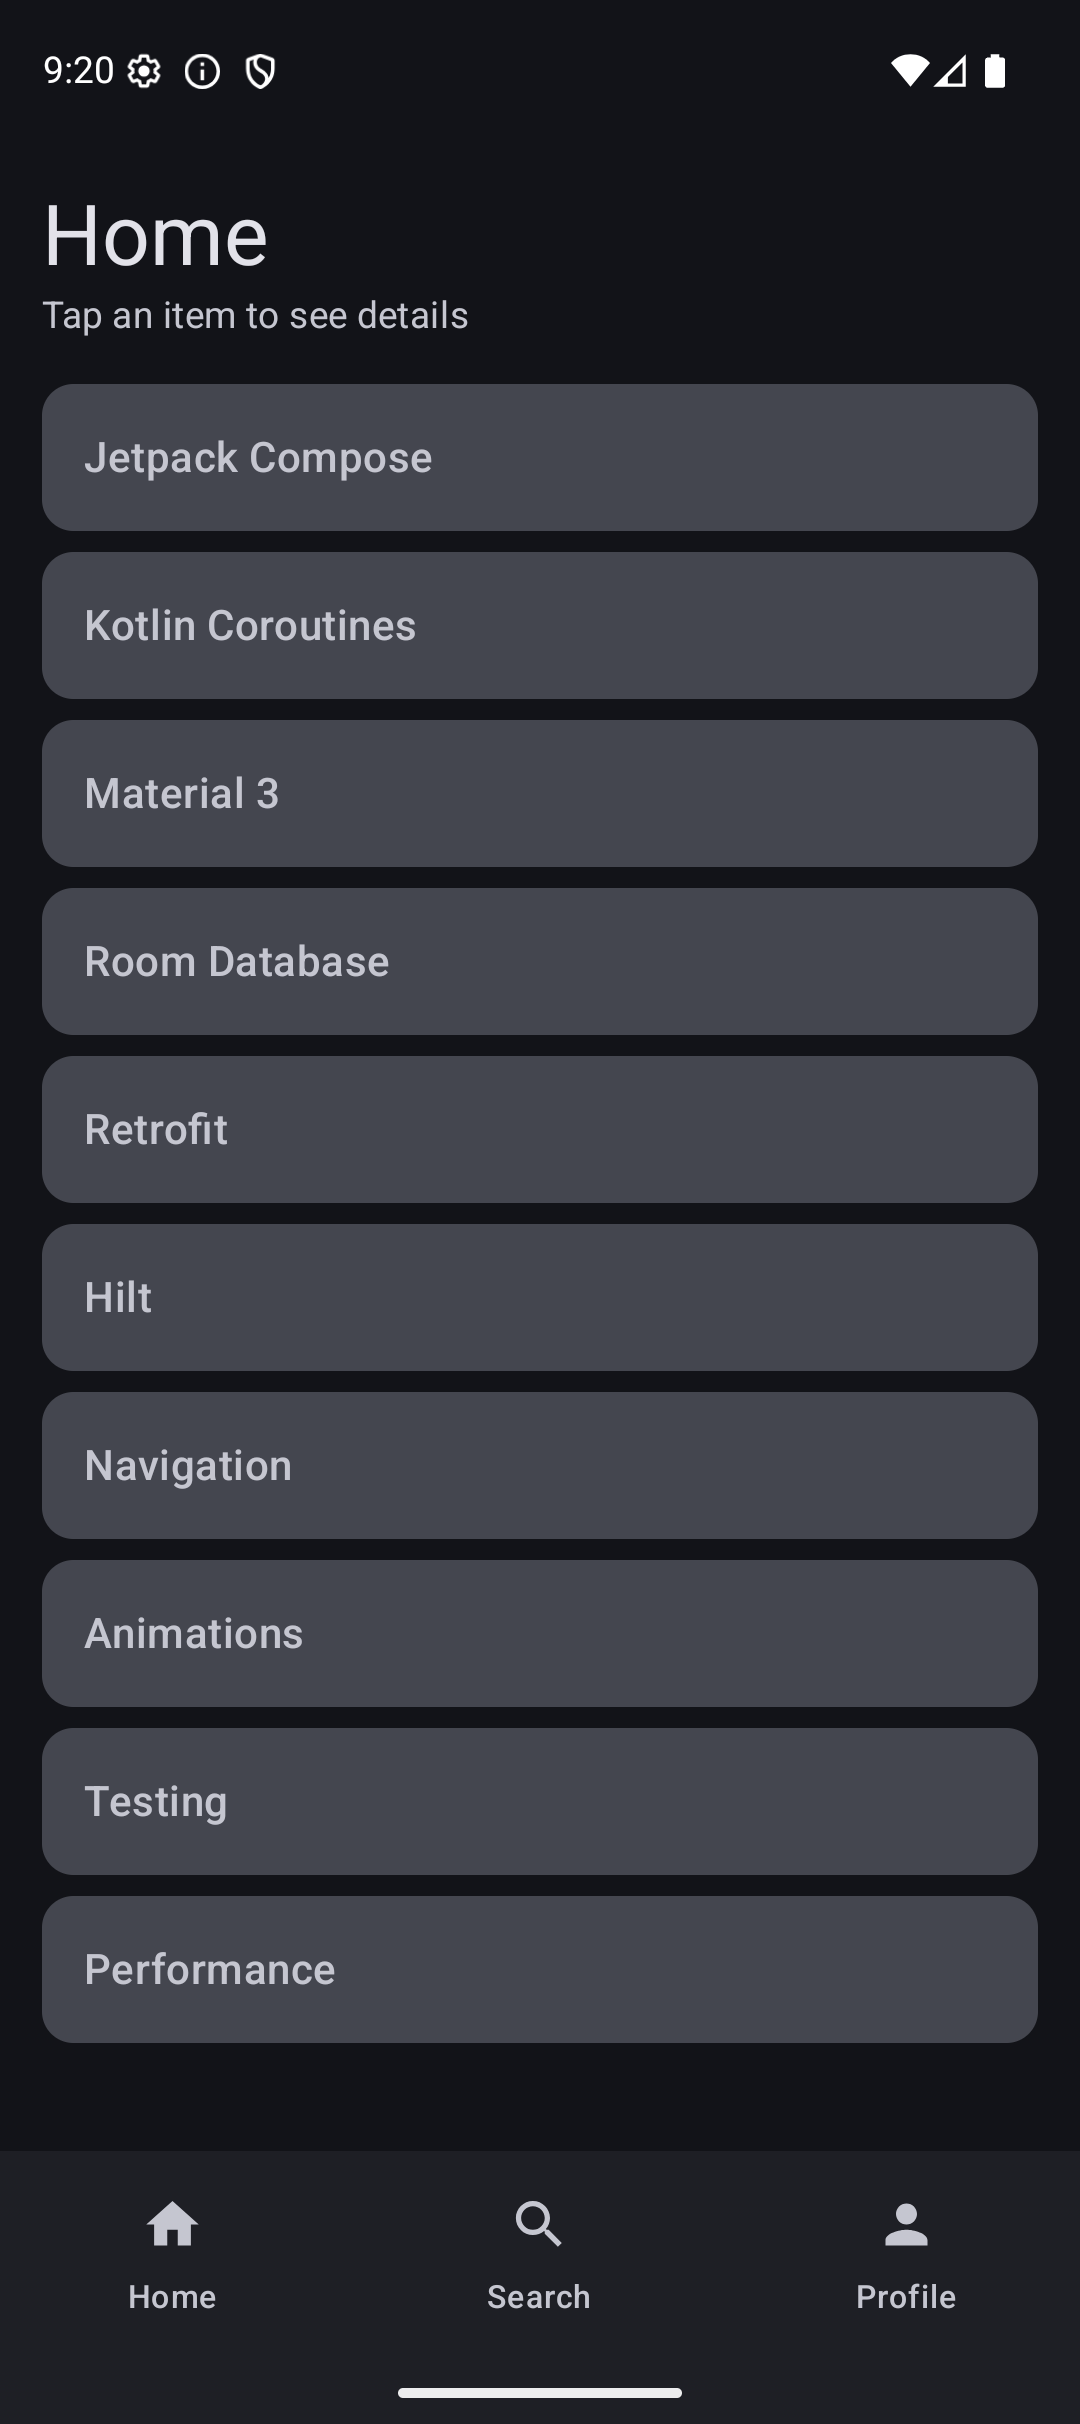 |
Source Code
The complete working code for this tutorial is on GitHub:
Related Tutorials
- Tutorial #5: State — state management that drives navigation decisions
- Tutorial #7: Theming — styling the NavigationBar with your theme
- Tutorial #10: MVI — architecture pattern that works with navigation
- Jetpack Compose Cheat Sheet — quick reference for every component and modifier.
- Full Series: Jetpack Compose Tutorial — all 25 tutorials from zero to publishing.
What’s Next?
In the next tutorial, we will learn about ViewModel with Compose — how to manage screen logic, survive configuration changes, and connect your UI to data. ViewModel is what makes navigation arguments useful — you pass an ID through navigation, then the ViewModel fetches the actual data.
See you there.